
Introduction:
Ever get annoyed by a chipped acrylic nail? Or see that awkward gap as your nails grow out? Maybe you suddenly need your bare nails for a specific reason. Getting acrylic nails removed at a salon can be costly and time-consuming. So, many folks wonder if they can remove them at home. It's possible, but doing it wrong can seriously hurt your nails. This article will show you safe and effective ways to remove acrylic nails right in your home!
Preparing for Acrylic Nail Removal
Before you even think about taking off those acrylics, let's get ready. Proper prep is key to a smooth and damage-free removal. Let's avoid any issues and keep nails healthy!
Gathering Essential Supplies
Having everything you need at your fingertips makes the process way easier. Here's what you'll need:
- Acetone: This is the star of the show! Make sure it's 100% pure acetone.
- Cotton Balls: You'll use these to soak your nails in acetone.
- Aluminum Foil: To wrap the cotton balls and keep the acetone working.
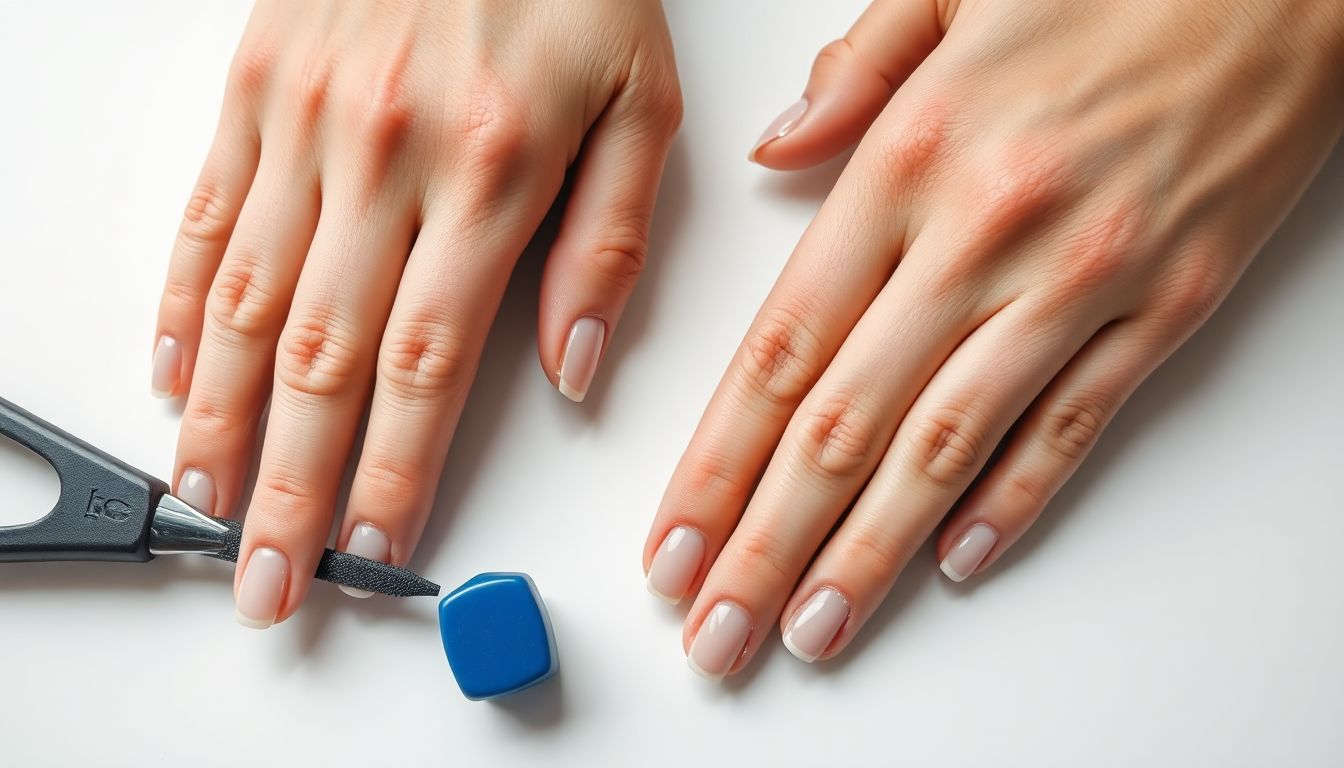
- Nail File: To file down the top layer of the acrylic.
- Cuticle Pusher: To gently lift off the softened acrylic.
- Buffer: To smooth out your nails after removal.
- Nail Oil: To hydrate and nourish your natural nails. Consider this cuticle oil for healthy nail beds. [Amazon Affiliate Link]
Protecting Your Workspace
Acetone has a strong odor and can damage surfaces. Work in a well-ventilated area. Open a window or turn on a fan. Cover your work surface with an old towel or newspaper. This keeps things clean and protects against spills.
Assessing Nail Condition
Take a close look at your nails before starting. Do you notice any lifting or damage? If your nails are already weak, be extra careful during the removal process. Take your time; the health of your nails depends on it.
The Acetone Soak Method
This method is the most common and effective way to remove acrylic nails. When done right, it will help ensure minimal damage to your natural nails. Let's walk through it!
Filing Down the Top Coat
Filing down the shiny top coat is super important. It lets the acetone seep in and break down the acrylic faster. Use a coarse nail file. Gently file the surface of each nail. The goal is to remove the shine, not to file down the entire acrylic. This process makes the next step way easier.
Acetone Application and Wrapping
Now, let's get those nails soaking! Saturate a cotton ball with acetone. Place it directly on top of your acrylic nail. Wrap your fingertip tightly with aluminum foil. This keeps the cotton ball in place. The foil also traps heat, which speeds up the process. Make sure the foil is snug, but not too tight.
The Soaking Process
Patience is key. Let your nails soak for 15-20 minutes. After that time, check one nail. Gently push the acrylic with your cuticle pusher. If it's still hard, re-wrap and soak for another 5-10 minutes. It might take a little longer depending on the thickness of your acrylics. Don't rush it!
Removing Softened Acrylic
After soaking, the acrylic should be soft and easy to remove. It's time to gently get those acrylics off!
Gentle Pushing and Scraping
Use your cuticle pusher to gently push the softened acrylic away from your nail. Work from the cuticle area towards the tip. Don't force it! The acrylic should lift easily. If not, go back to soaking. Apply gentle pressure and don't scrape too hard.
Re-Soaking Stubborn Areas
If some acrylic stubbornly clings on, don't panic. Soak a cotton ball in acetone and re-wrap just that nail. Give it another 5-10 minutes to soften. Forcing it off can damage your natural nail. Re-soaking is a much better way to go.
Post-Removal Nail Care
Your natural nails might feel weak and dry after acrylic removal. It's time for some serious TLC to get your nails back into shape.
Hydrating and Nourishing
Acetone can be harsh on your nails and skin. Now you need to hydrate and nourish your nails and cuticles. Apply cuticle oil several times a day. Massage it into your nails and the surrounding skin. Use a rich hand cream to keep your hands moisturized. This cuticle oil with Vitamin E can help revitalize your nails.
Buffing and Smoothing
After removing the acrylic, your nails might have some rough spots. Use a gentle buffer to smooth the surface. Buff in one direction to avoid creating heat. Don't over-buff! You just want to remove any leftover residue and smooth any ridges.
Strengthening Treatments
Consider using a nail strengthener to help your nails recover. These products contain ingredients that fortify and protect your nails. You might also consider biotin supplements. Remember to talk to your doctor before starting any new supplements. This nail strengthening treatment helps restore damaged nails. [Amazon Affiliate Link]
Alternative Acrylic Removal Methods (Not Recommended)
You might hear about other ways to remove acrylics. But some methods are much worse for your nail health. Let's look at these and why you should avoid them.
The "Peeling" Method (and why it's bad)
Never peel off your acrylic nails! Peeling rips off layers of your natural nail. This can leave your nails thin, weak, and prone to breakage. It's a recipe for disaster. Avoid peeling at all costs.
Using Dental Floss (and why it's bad)
Some folks try to use dental floss to wedge under the acrylic. This is also a bad idea. It can cause serious damage to your nail bed. Plus, it's painful! There are much safer ways to remove acrylics.
Conclusion
Removing acrylic nails at home is possible and safe. The acetone soak method will help you avoid damage if done correctly. Remember to be patient, and never force anything. After removal, give your nails some love with proper aftercare. Prioritize nail health over speed. Your nails will thank you!
Got any questions or tips about removing acrylics? Leave a comment below! Share this article with your friends who love acrylics.


0 Comments