
Easy Chicken Kheema Recipe: A Flavorful & Simple Guide
Chicken kheema is not just another dish; it’s a delightful fusion of flavors that has captured the hearts of many. With its roots in Indian cuisine, kheema showcases the beauty of minced meat, spices, and aromatic herbs.
The Allure of Chicken Kheema
The Rising Popularity of Kheema Dishes
Kheema dishes have seen a significant increase in popularity, particularly in areas with vibrant Indian communities. In recent years, the consumption of Indian cuisine in the United States grew by over 30%. Kheema's versatility allows it to be adapted in numerous ways, making it a favorite among home cooks and food lovers alike.
Why This Recipe is Easy and Delicious
This recipe stands out for its simplicity. Ideal for beginner cooks, it requires no specialized techniques. Despite the straightforward steps, the flavors are rich and satisfying. Each bite bursts with spices, making this dish a treat for the palate.
Ingredient Spotlight: Sourcing the Best Flavors
Selecting High-Quality Chicken
For kheema, ground chicken is often the best choice. It cooks quickly and absorbs flavors well. Look for fresh, organic chicken if possible. Check for a pinkish color and a firm texture. If using bone-in chicken, shred it after cooking for a delightful texture.
Essential Spices and Their Roles
Key spices elevate the dish:
- Cumin: Adds earthiness.
- Coriander: Offers a citrusy note.
- Chili Powder: Brings heat.
If you lack any spice, consider using a blend like garam masala as a substitute.
Step-by-Step Cooking Guide: Mastering the Kheema
Preparing the Chicken and Aromatics
- Heat oil in a pan.
- Add minced onions and sauté until golden.
- Incorporate garlic and ginger, cooking until fragrant.
- Add the ground chicken, stirring until browned.
Simmering the Kheema with Spices
- Mix in cumin, coriander, and chili powder.
- Pour in chopped tomatoes and cook until thickened.
- Adjust spices according to your taste; add more chili for heat or sugar for balance.
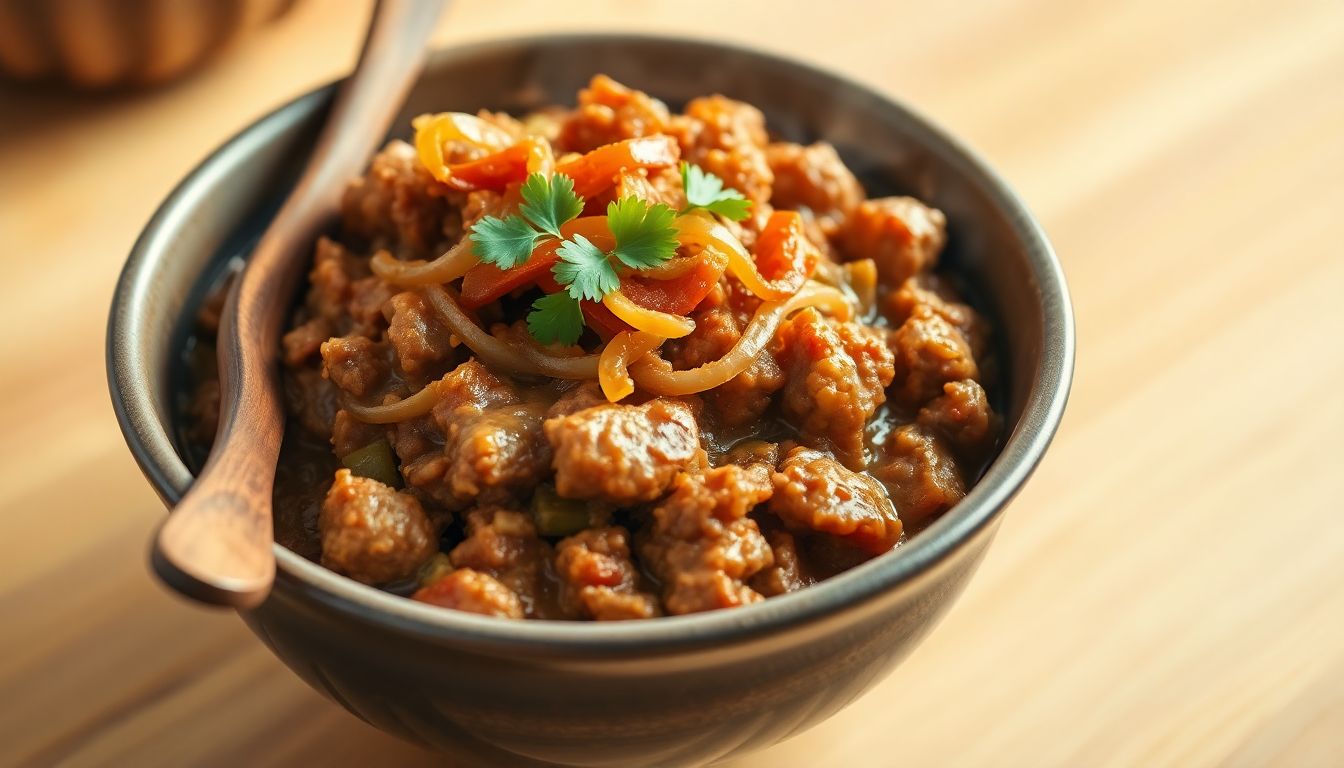
Finishing Touches and Serving Suggestions
Before serving, taste and season with salt and pepper. Chicken kheema pairs wonderfully with:
- Naan bread
- Roti
- Steamed rice
Flavor Variations and Creative Adaptations
Adding Vegetables for a Heartier Dish
Incorporate vegetables for added nutrition.
- Peas: Stir in frozen peas during the final cooking stage.
- Potatoes: Dice and cook with the chicken for a comforting texture.
- Spinach: Add fresh spinach towards the end and let it wilt.
These additions can also cater to dietary preferences; consider using lentils for a vegetarian twist.
Incorporating Different Herbs and Spices
Explore variations by using different herbs:
- Cilantro: Finish with fresh cilantro for a vibrant flavor.
- Mint: Add chopped mint for a refreshing touch.
Regional variations include adding coconut milk for a creamy South Indian style or using different spice mixes to reflect local tastes.
Tips for Success and Troubleshooting
Avoiding Common Mistakes
- Dry Kheema: Ensure you add enough tomatoes or water while cooking.
- Overpowering Spices: Start with less spice and adjust to taste.
Making Ahead and Storage Suggestions
Kheema tastes even better the next day. To prepare ahead:
- Cook the dish fully and cool it.
- Store in an airtight container in the fridge for up to three days.
- Reheat gently on the stovetop, adding a splash of water if necessary.
Conclusion: Your Journey to Delicious Chicken Kheema
Key Takeaways and Recipe Highlights
This easy chicken kheema recipe combines bold flavors with simple steps. Whether you’re cooking for family or enjoying a meal alone, this dish offers satisfaction in every bite.
Resources and Further Reading
For more delicious Indian recipes and cooking tips, check out other articles on Indian cuisine. Don’t forget to try this recipe and share your experience in the comments below! Your culinary journey awaits.


0 Comments